Dehumidifier maintenance in 7 easy steps.
Dehumidifier servicing will help to keep your dehumidification system efficient for a healthy environment. Learn essential dehumidifier maintenance steps: clean, check, test, and maintain. Perform maintenance every 2-3 months.
Introduction.
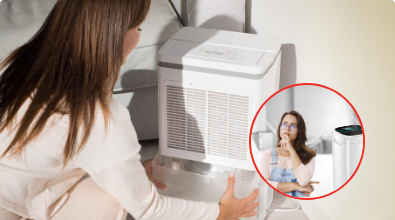
Excess moisture in your home is a common source of various issues. It can cause health issues due to the growth of mold and mildew, & musty odors.
Also, excess dampness can damage furniture or electronic equipment. In such a situation, a dehumidifier machine can act as a rescuer. A dehumidification system is a device that processes room air and removes wetness from it to create a dry climate.
Introducing a dehumidifier sets the stage for a pleasant living space by effectively removing excess moisture from the air.
However, regular dehumidifier maintenance is also required for better performance. Regular maintenance is crucial to ensure optimal performance and longevity.
Dehumidifier maintenance involves a series of simple yet important .. tasks that help keep your device in top shape.
Following the maintenance guidelines in this article ensures that your dehumidifier machine functions efficiently, saving you from potential problems and costly repairs.
Understanding dehumidifier service in detail with proper technique is vital before owning one. In this "How to" blog, we will dive deep into the specifics of dehumidifier maintenance. This step-by-step guide will make your repairing task easy and joyful.
It will empower you to increase the life of the device and create a healthy, comfortable, and humidity-free living space.
So, let's embark on this maintenance journey together and discover how to keep your dehumidifier operating at its best!
Read more
Step 1: Cleaning the Exterior.
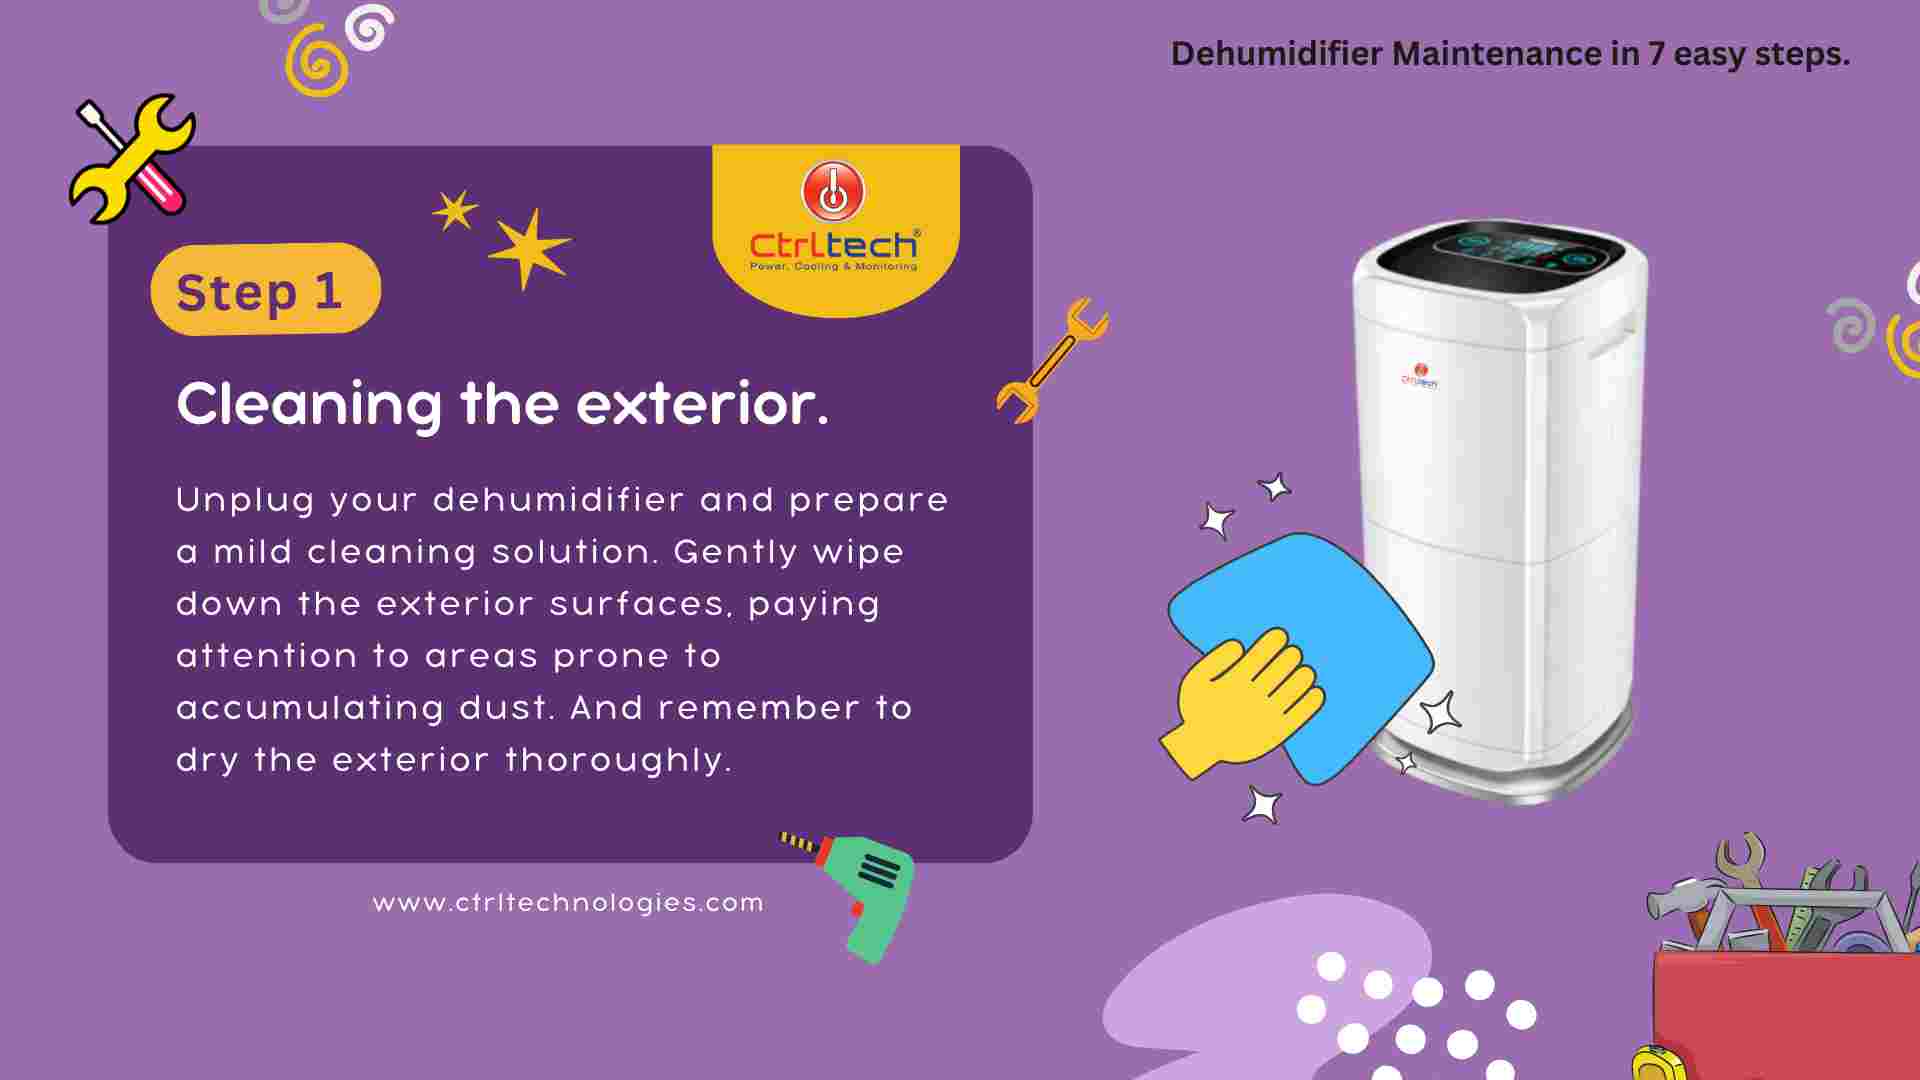
First, we need to clean the exterior surfaces of the dehumidifier from dust & stains. Cleaning the exterior helps maintain its aesthetic appeal and ensures the device's efficient functioning. Follow these steps for adequate cleaning of the unit.
Unplug the dehumidifier: Before starting cleaning, ensure the dehumidification system is unplugged for safety. It will also avoid potential damage to the device and your safety. ..
Prepare a cleaning solution: Due to the plastic body casing, harsh chemicals or abrasive cleaners cannot be used. Prepare a mild solution by mixing mild dish soap with warm water.
Dampen a soft cloth or sponge: Dip a soft cloth or sponge into the cleaning solution and wring out any excess liquid. You want the fabric to be damp, not dripping wet.
Wipe down the exterior surfaces: Use a damp cloth or sponge gently to clean the outer surface of the air dehumidifier. Pay attention to areas prone to accumulating dust, such as the control panel & the intake and exhaust vents.
Remove stubborn stains or dirt:A damp cloth or soft brush can be used to remove stubborn stains. Avoid excessive pressure to prevent scratching of the surface.
Dry the exterior: After wiping down the surfaces, take a clean, dry cloth and thoroughly dry the body of the dehumidifier. It helps prevent moisture from entering the internal components when you plug it back in.
This step is essential to maintain the appearance of the unit.
Also, though it is a simple procedure, it creates a foundation for dehumidifier maintenance.
Read more
Step 2: Cleaning the Air Filter.
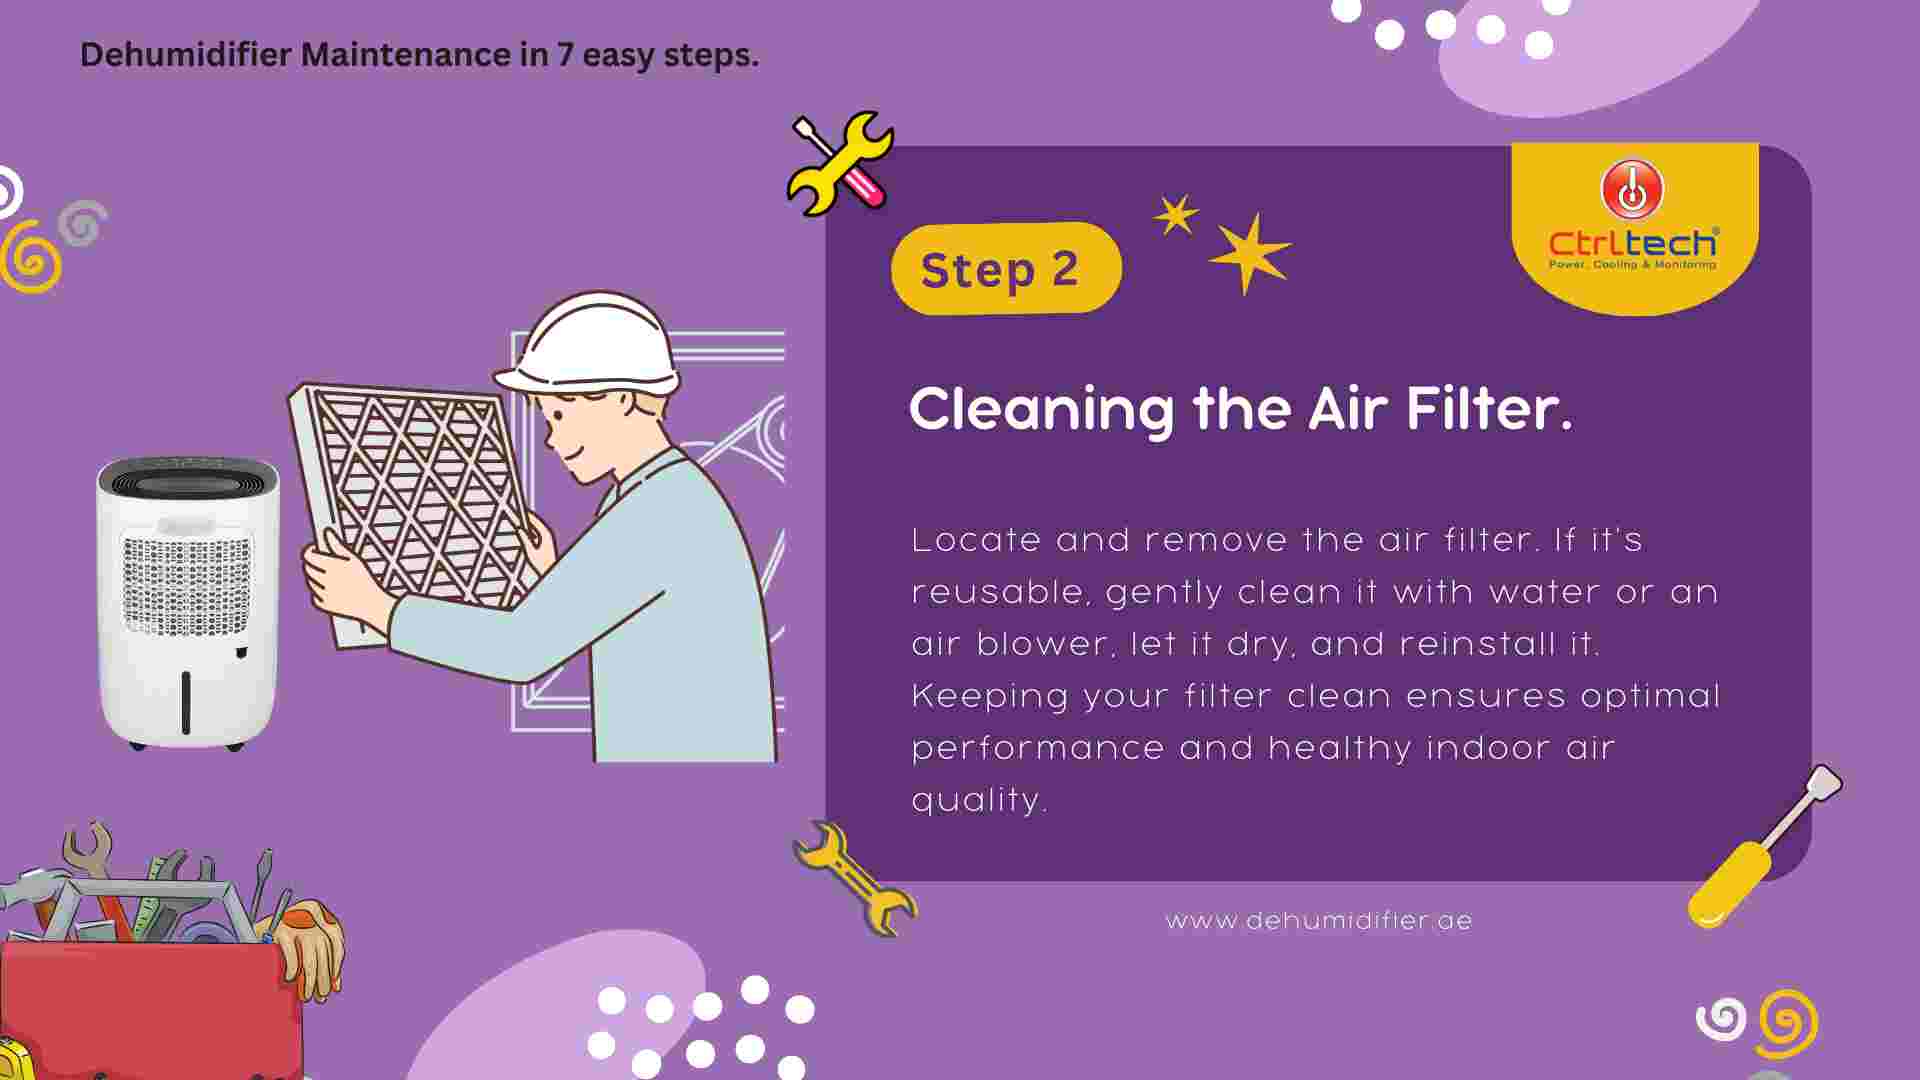
Maintaining clean and healthy indoor air quality is vital to the unit. The air filter is located at the inlet vent of the room dehumidifier. Due to its function, it becomes clogged with dust, allergens, and other airborne particles.
Hence, it requires regular cleaning. A clogged filter can hamper the efficiency and performance of the dehumidification system. Regularly cleaning the air filter will ensure optimal performance. Please follow the steps below for air filter cleaning.
Locate the air filter: Please read the user manual to locate the filter. It is generally located at the front or back side of the unit based on the location of the inlet vent.
..
Remove the air filter: Filter and its cover are generally delicate, so, remove it carefully. Some filters may have a release latch or clips that need undone, while others can be pulled out. Note the filter's position; after cleaning, you must put it back correctly.
Assess the condition of the air filter: If it is damaged or heavily soiled, consider replacing it with a new one or going ahead with cleaning. Refer to the manufacturer's instructions for filter replacement recommendations.
Clean the air filter: If it is reusable, you can clean it with water and an air blower. Start gently tapping the filter against a hard surface to dislodge loose particles. Then, rinse the filter under running water using a gentle stream. Avoid using hot water, as it may cause damage. You also can use a soft brush or toothbrush to clean dust.
Allow the filter to dry: If you have washed it, it is crucial to make it dry before installing it back into the dehumidifier. You can dry it by gently shaking it or using an air blower machine. Do not use a blower with hot air or a dry filter in direct sunlight.
Reinstall the air filter: Ensure it is correctly aligned and securely placed in the housing while reinstalling it.
Remember to consult the manufacturer's instructions for specific cleaning and replacement recommendations for your dehumidifier model.
Read more
Step 3: Checking the Drainage System.
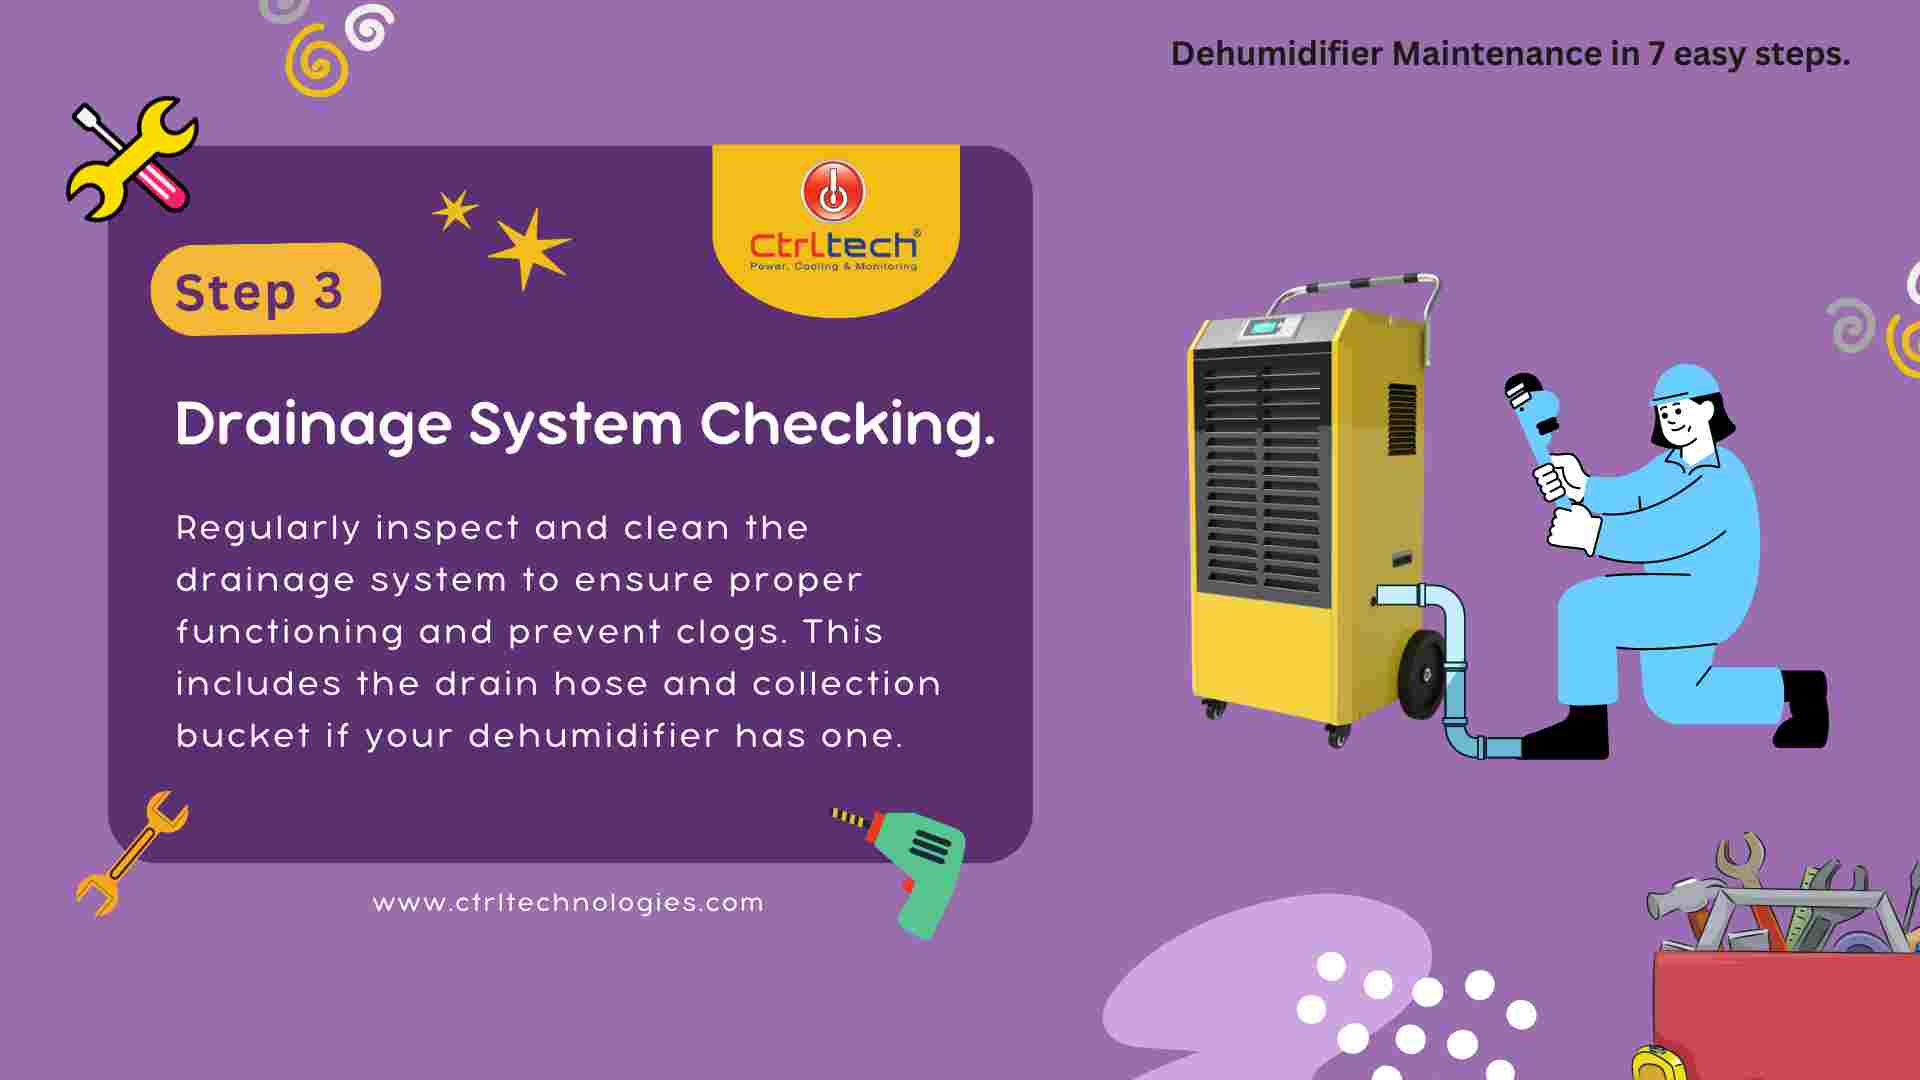
The drainage system of your dehumidifier is responsible for removing the collected moisture from the air. Regularly checking and maintaining the drainage system ensures proper functioning and prevents any issues arising from clogs or blockages.
After unplugging the machine, please follow the steps given below.
Locate the drainage system: Every dehumidifier unit has either a drain hose, internal tank, or both. It is often clearly mentioned in the manufacturer's instruction book. ..
Inspect the drain hose.
If your dehumidifier has a drain hose, examine it for clogs or obstructions.
Check both hose ends, ensuring they are securely attached and debris-free.
Use a flashlight to get a clear view of the hose interior.
Clear any clogs.
If you notice any clogs or blockages in the drain hose, use a flexible brush or pipe cleaner to remove the obstruction gently.
Be careful not to damage the hose while doing so.
If the clog is stubborn and cannot be easily cleared, consult the manufacturer's instructions or seek professional assistance.
Check the collection bucket.
For dehumidifiers that use a collection bucket, remove it and inspect it for any dirt or debris.
Clear the bucket with the help of soap and water. The dirty tank can affect the hygiene of the air released by the dehumidifier.
Make sure it is scorched before reinstalling it.
Reassemble the drainage system: After checking and cleaning the components, reassemble them correctly. Ensure the drain hose is securely attached or the collection bucket is correctly positioned within the dehumidifier.
Verify proper drainage.
Test the drainage functionality once the drainage system is reassembled.
Run the dehumidifier and observe if the moisture is drained adequately without leaks or overflow. If you have a drain hose, ensure it is correctly connected to a drain or a suitable outlet.
If using a collection bucket, ensure it is correctly positioned and securely in place.
Regularly checking the drainage system of your dehumidifier helps prevent water accumulation and ensures efficient moisture removal.
By maintaining a clear and functional drainage system, you can enjoy the full benefits of your dehumidifier while avoiding potential issues.
Read more
Step 4: Inspect the Coils.
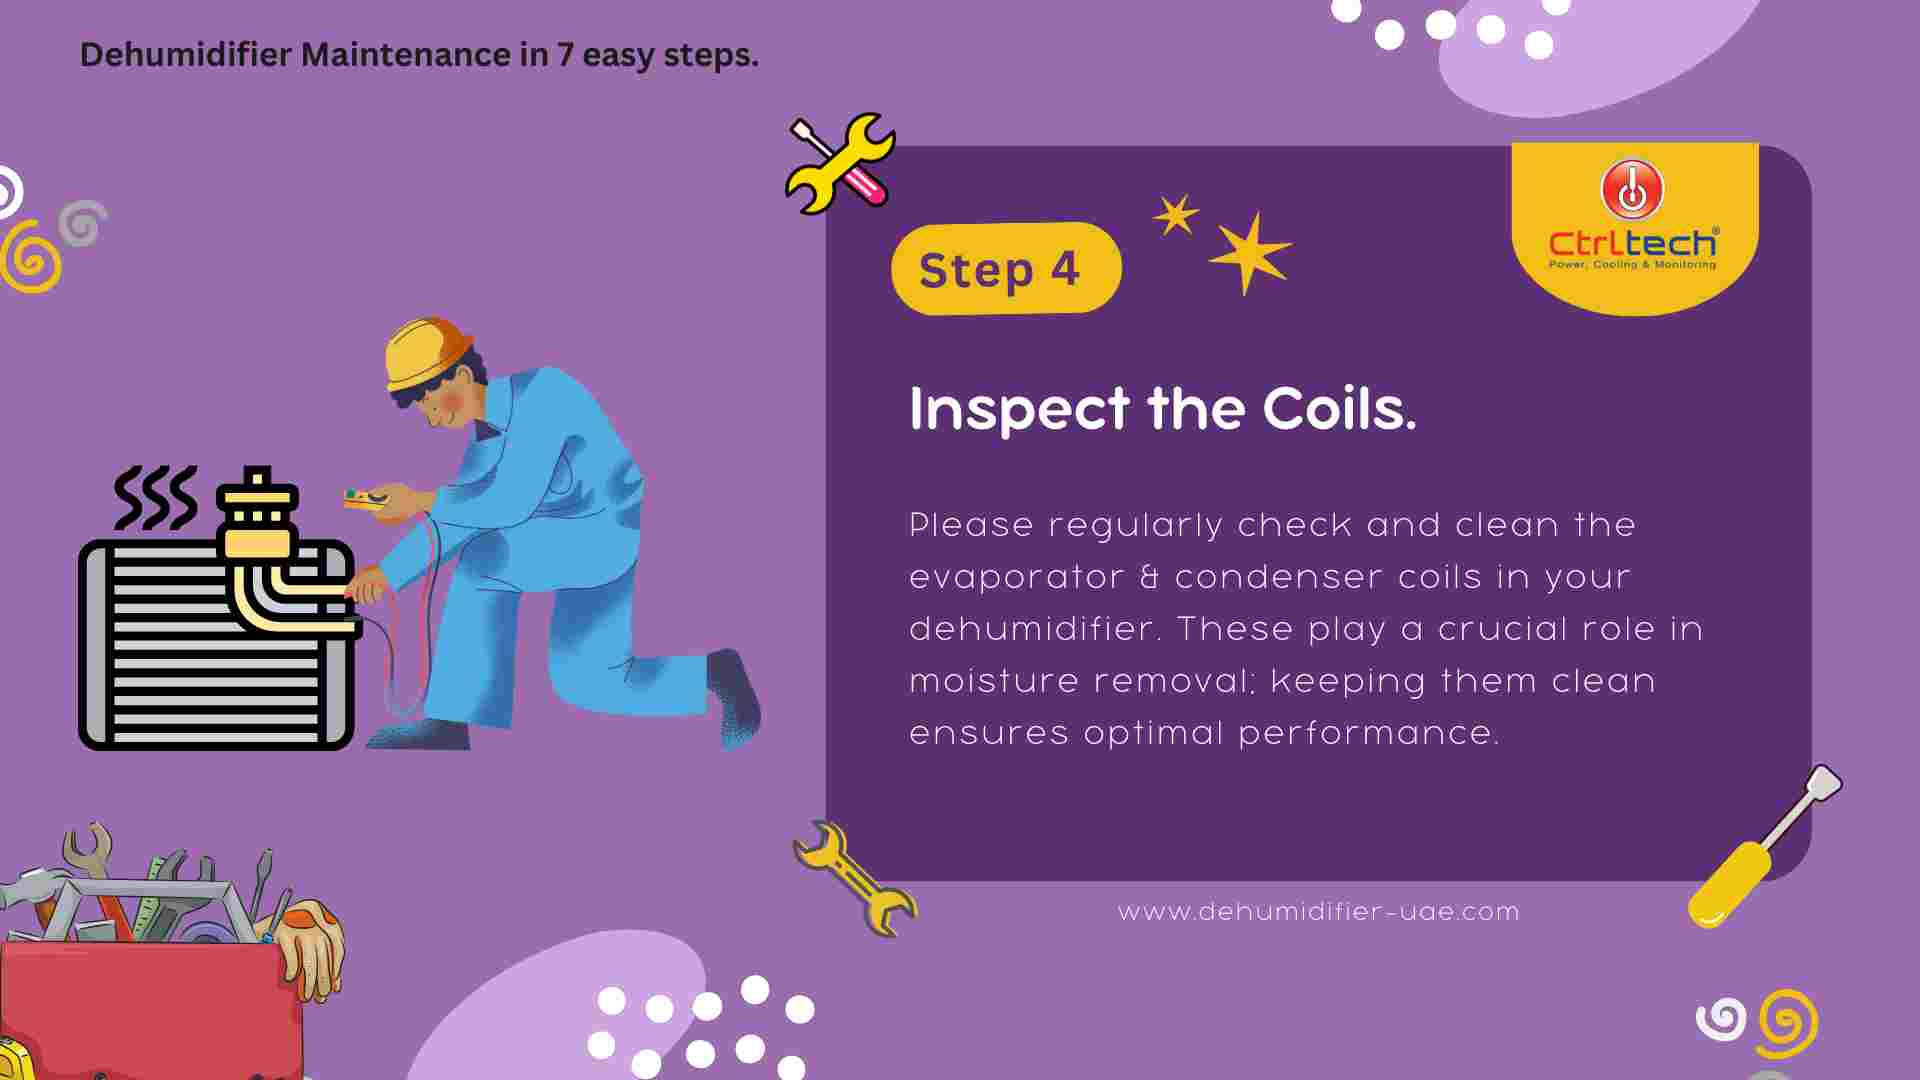
The coils in your dehumidifier play a crucial role in moisture removal. During the working of the dehumidification system, room air passes over the evaporator and condenser coil. Hence, dirt can accumulate on it, which in turn can reduce the machine's efficiency.
..
Regularly inspecting and cleaning the coils ensures optimal performance. After disconnecting the unit from the power source and following these steps.
Go through the installation and maintenance manual of the unit to find out how to access these coils. Follow the instructions in the user manual to safely and correctly access the coils.
Once you have accessed the coils, visually inspect them for any dirt, dust, or debris buildup. Pay attention to both the evaporator coil (cold coil) and the condenser coil (hot coil). Look for signs of excessive dirt, mold, or damage.
You can use a cloth or a brush to clean the coils. But, if it is foul, you can use an air blower machine. Be careful not to bend or damage the delicate fins of the coils.
If the evaporator and condenser are heavily soiled or have stubborn residue, consider using a coil cleaner specifically designed for HVAC systems or appliances.
Follow the instructions provided with the coil cleaner, and ensure it is compatible with the type of coils in your dehumidifier.
If you are cleaning the coils with liquid before reassembling, ensure it is completely dry. Regularly inspecting and cleaning the coils of your dehumidifier will help maintain its efficiency and prevent issues related to dirt or debris buildup.
Coils are the heart of the refrigerant cycle, so checking it at least twice a year is recommended. Keeping the coils clean ensures that your dehumidifier functions optimally, providing a comfortable and moisture-free living space.
Read more
Step 5: Testing the Humidity Levels.
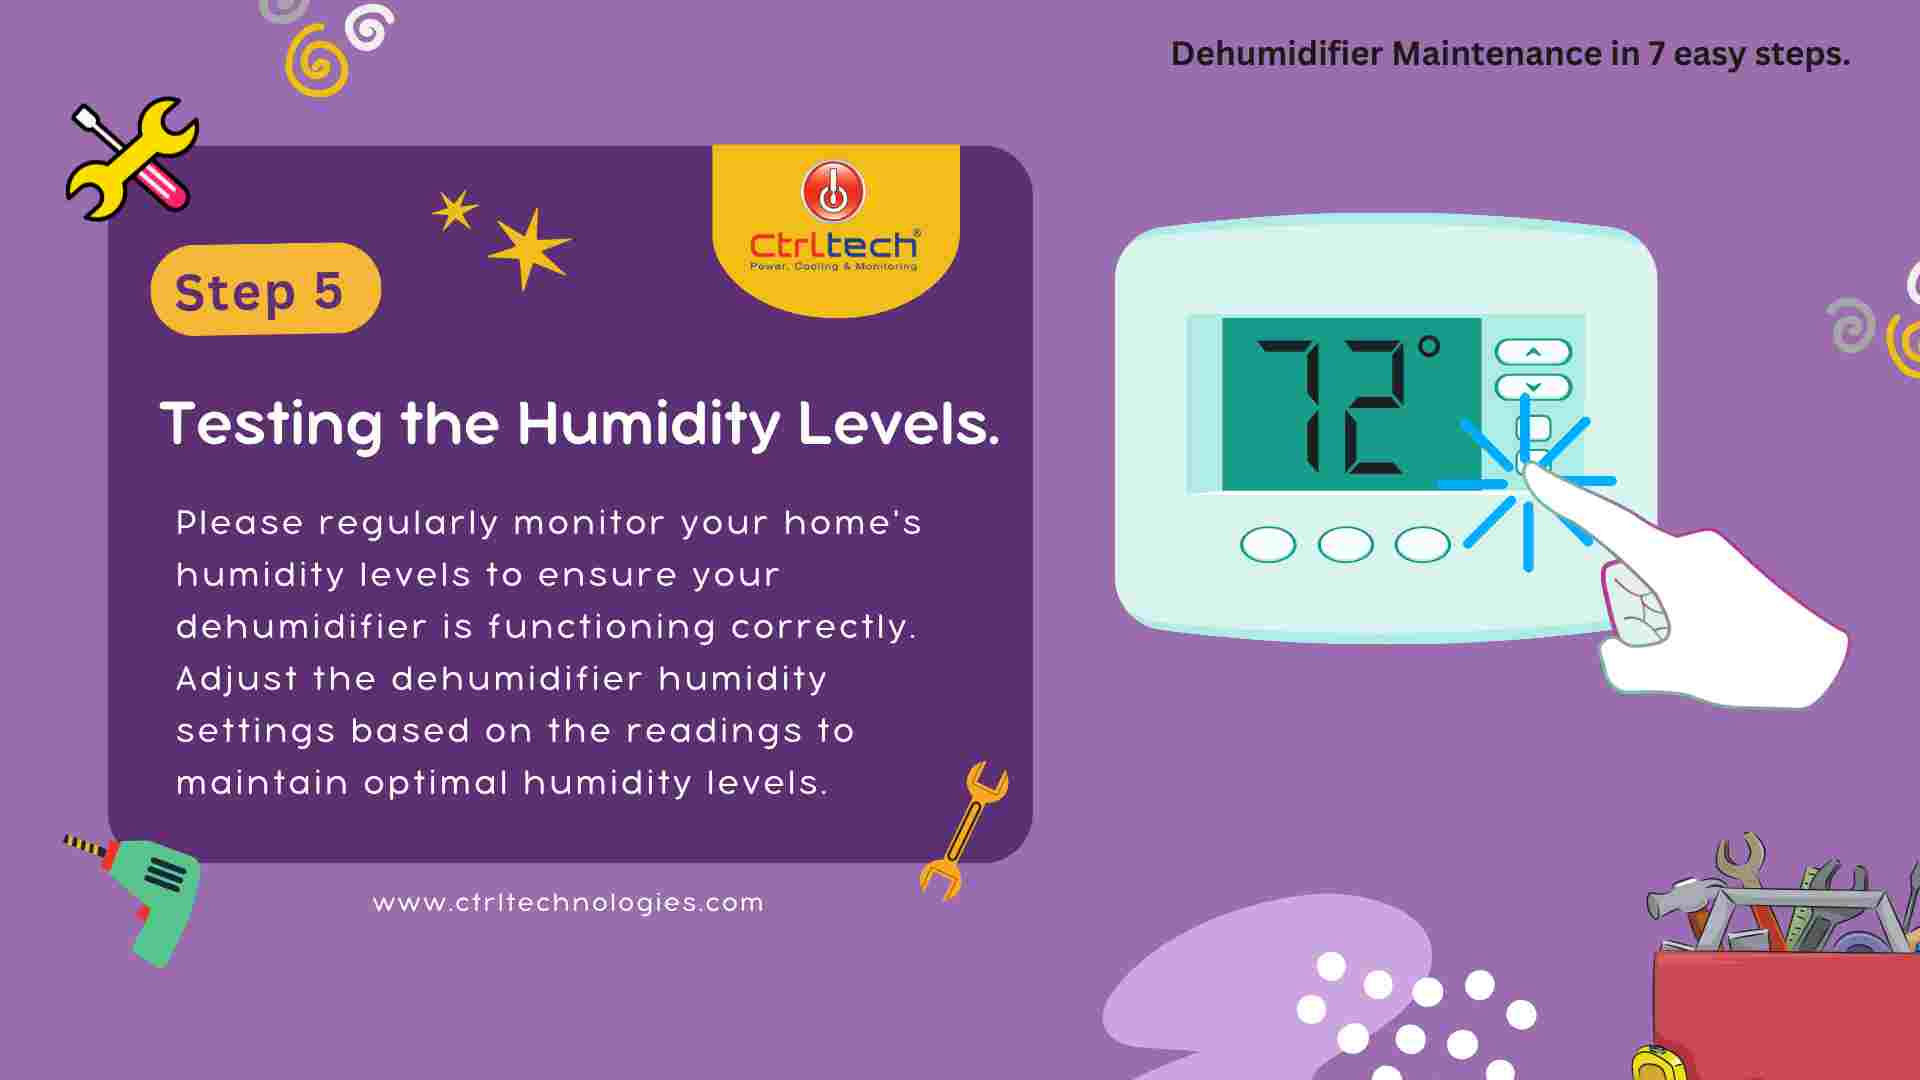
This step is a critical test for accurate performance and maintaining humidity in your living space. By regularly monitoring the humidity levels, you can ensure that your dehumidifier is effectively controlling moisture and creating an optimal living environment. ..
Turn on the dehumidifier: First, switch on the unit to check and adjust the humidity level. It allows the dehumidifier to cycle and stabilize, giving you a more accurate reading.
Obtain a hygrometer: Ensure that you have a reliable hygrometer for accurate readings. With the help of a hygrometer, one can measure the preset humidity level. You can buy it from any electronic shop.
Select a representative area: Choose the place inside your home where you want to conduct a humidity level test. This location should be at the center of the room and away from windows and doors.
Place the hygrometer: For accurate results, position the hygrometer at a height of around 3 to 4 feet above the selected location. Avoid placing it near heat sources or in direct sunlight, as this can affect the accuracy of the readings. Do not move or touch the hygrometer for at least 15 to 30 minutes so that it can provide the correct reading of the room humidity level.
Read the humidity level: After the designated time, check the hygrometer to read the humidity level displayed. The reading is typically given as a percentage, representing the relative humidity in the room.
Compare with optimal range: Compare the reading on the hygrometer with the optimal range for indoor humidity, generally between 30% and 50%. If the reading is below this range indicates a low humidity level, and if it is above the range, then high humidity level.
Adjust the dehumidifier settings: If our living space has high humidity, then set your dehumidifier at a lower humidity setting. Consult your dehumidifier's user manual for instructions on adjusting the setting.
Adjusting the dehumidifier settings based on the readings will help you maintain an optimal humidity level and prevent issues related to excessive moisture or dryness.
Read more
Step 6: Emptying and cleaning the Water Tank.
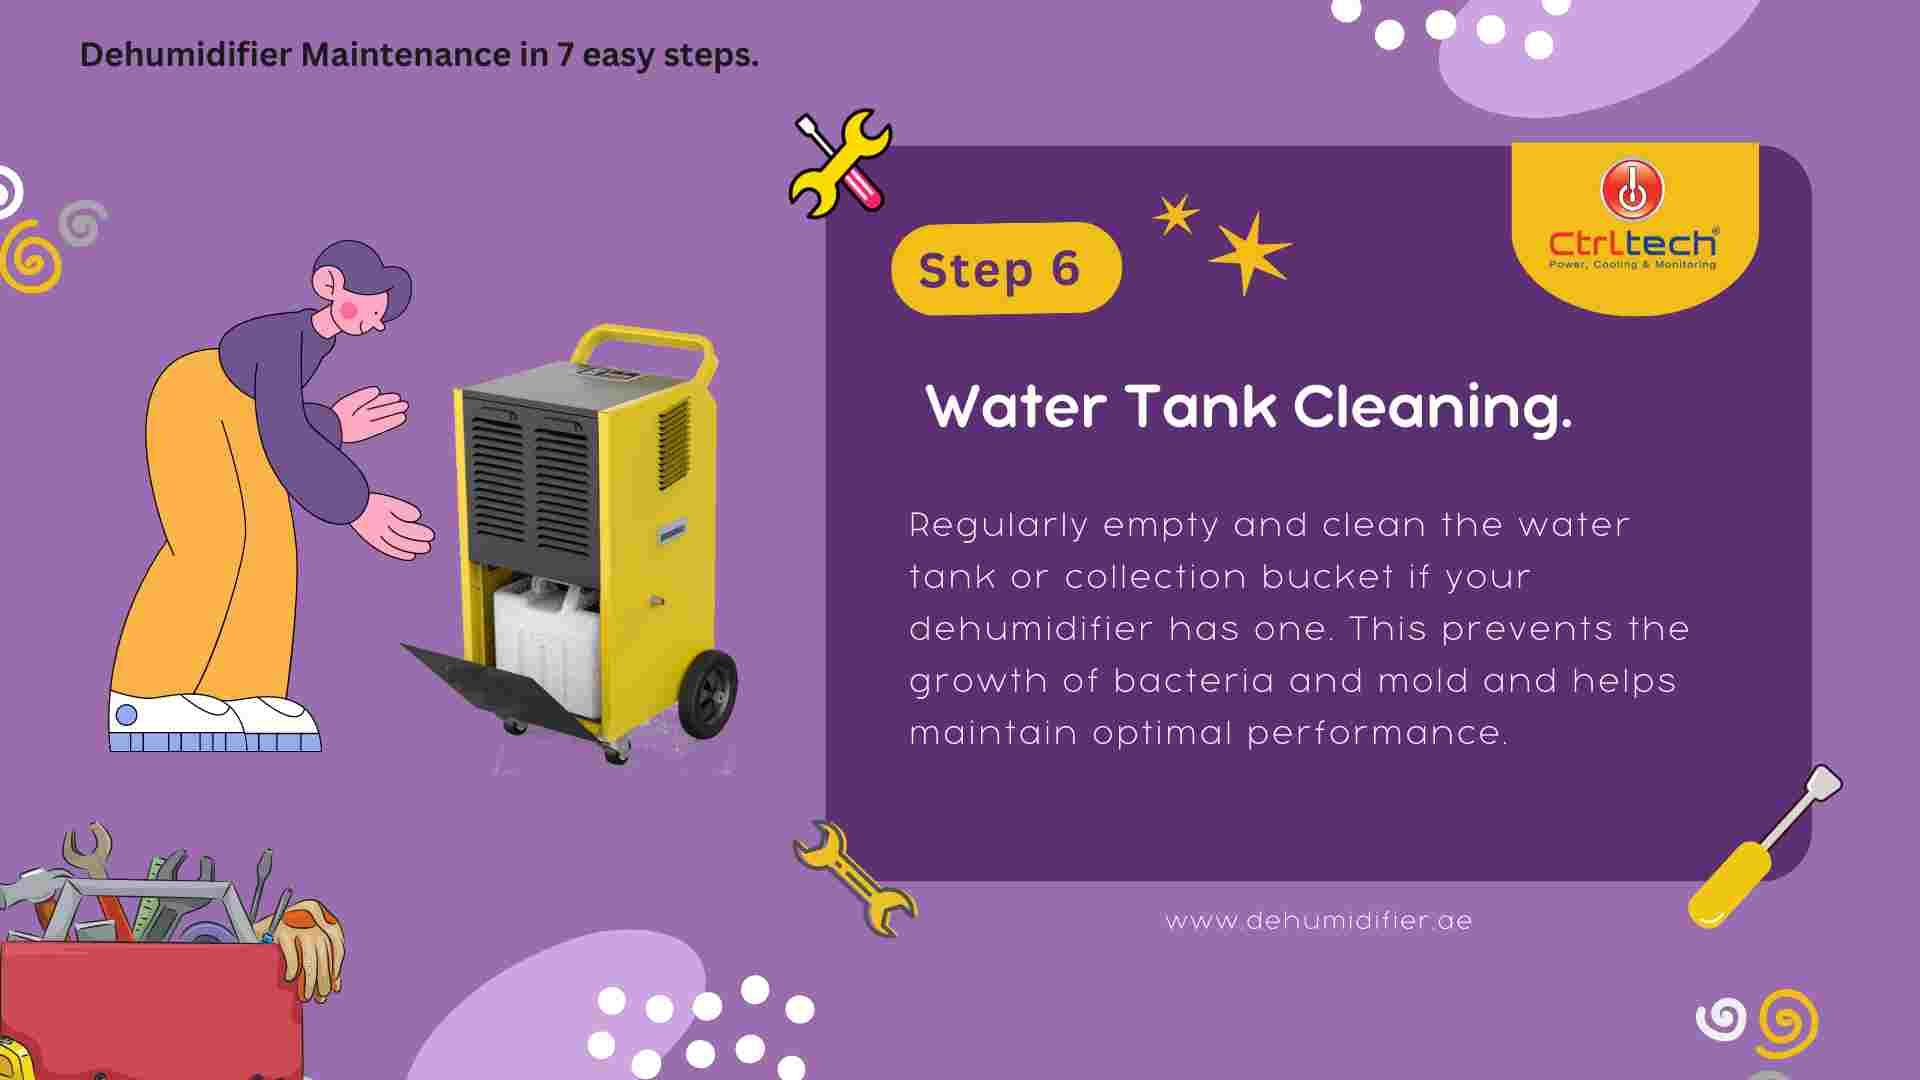
Suppose your dehumidifier has a water tank or collection bucket. In that case, it is important to regularly empty and clean it to maintain optimal functionality and prevent any issues arising from stagnant water or buildup. Before starting any maintenance, as usual first, unplug the dehumidifier unit...
Most portable dehumidifiers have the feature of auto shutdown when the tank gets full. If the tank is full or nearly full, carefully remove and empty it. Refer to the manual to locate the condensate bucket access.
To clean the tank, you can use mild liquid soap. Use scrub or foam to clean the bucket's interior by applying gentle pressure.
Pay special attention to any corners or crevices where dirt may accumulate. Rinse the tank thoroughly to ensure all soap residue is removed. After cleaning, dry the water tank thoroughly.
While reinstalling the bucket, ensure it is correctly aligned and securely placed in the designated slot or holder.
Regularly emptying and cleaning the water tank of your dehumidifier prevents the growth of bacteria, mold, or mildew and helps maintain optimal performance.
Regularly emptying and cleaning the water tank of your dehumidifier prevents the growth of bacteria, mold, or mildew and helps maintain optimal performance.
Keeping the water tank clean ensures that your dehumidifier functions efficiently, providing a comfortable and moisture-free living space.
Refer to the manufacturer's instructions for specific recommendations regarding tank maintenance for your dehumidifier model.
Read more
Step 7: Maintaining Proper Ventilation.
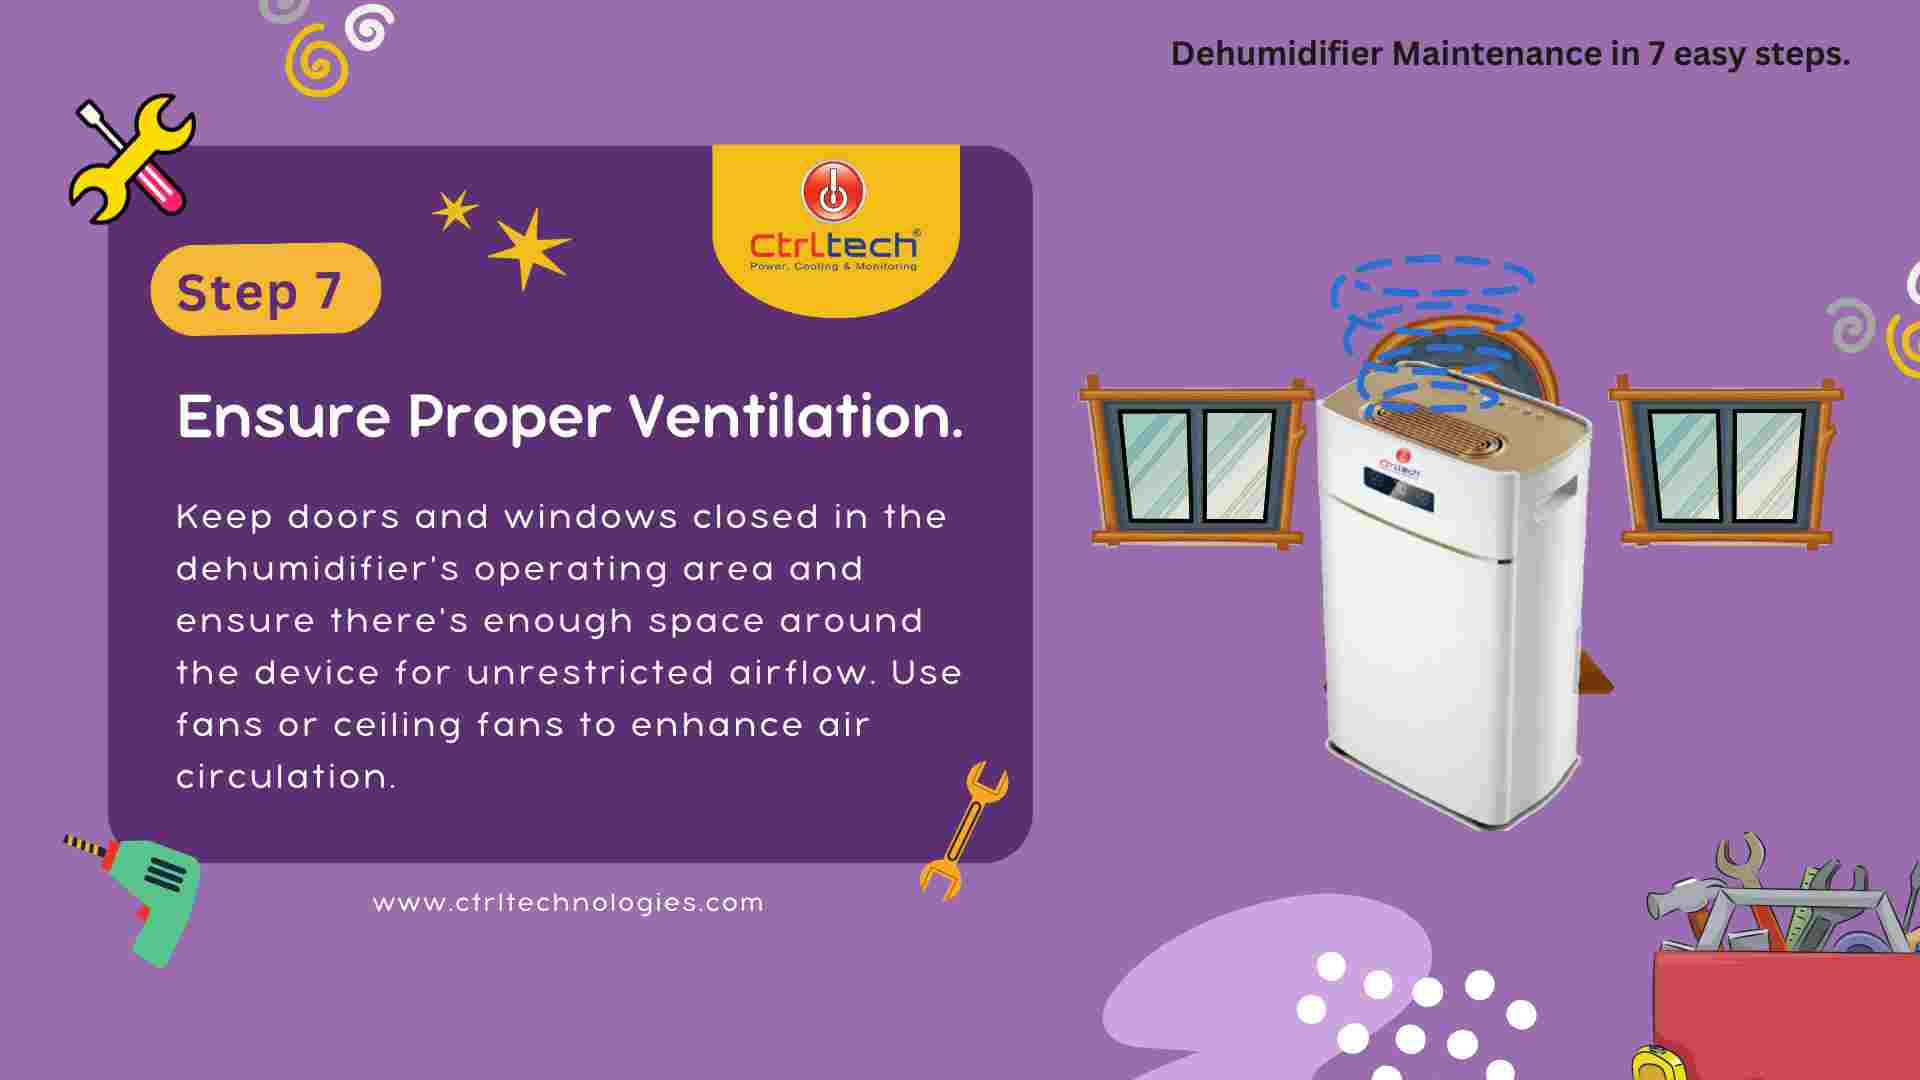
Proper ventilation is crucial for efficiently operating your dehumidifier and a healthy indoor environment. Follow these summarized steps.
1. Assess the room layout and remove any obstructions that impede airflow...
2. Keep doors and windows closed in the dehumidifier's operating area.
3. Ensure there is enough space around the dehumidifier for unrestricted airflow.
4. Clean and maintain vents and air ducts to prevent blockages.
5. Use fans or ceiling fans to enhance air circulation.
6. Address any mold or mildew issues promptly.
7. Ventilate high-moisture areas like bathrooms and kitchens with exhaust fans or open windows.
By maintaining proper ventilation, you maximize the effectiveness of your dehumidifier in controlling moisture levels and promoting a fresh and healthy indoor environment.
Regular proper dehumidifier servicing is essential for better performance of the unit. Also, it extends the lifespan of the machine.
This guide will help you in keeping your room dehumidifier clean and efficient. Consider your user manual for specific instructions tailored to your dehumidification system.
Read more